ESP Ram 1500 2013 Get to Know Guide
[x] Cancel search | Manufacturer: RAM, Model Year: 2013, Model line: 1500, Model: Ram 1500 2013Pages: 196, PDF Size: 9.66 MB
Page 146 of 196

Hub Caps/Wheel Covers
• The hub caps must be removed before raising the vehicle off the ground.
• For single rear-wheel (SRW) models, use the blade on the end of the lug wrenchto pry the hub cap off. Insert the blade end into the pry-off notch and carefully pop
off the hub cap with a back-and-forth motion.
• On models with dual rear wheels (DRW), you must first remove the hub caps. The jack handle driver has a hook at one end that will fit in the pry off notch of the rear
hub caps. Position the hook and pull out on the ratchet firmly. The hub cap should
pop off. The wheel skins can now be removed. For the front hub cap use the blade
on the end of the lug wrench to pry the caps off. The wheel skin can now be
removed.
• You must use the flat end of the lug wrench to pry off the wheel skins. Insert the flat tip completely and using a back-and-forth motion, loosen the wheel skin.
Repeat this procedure around the tire until the skin pops off.
• Replace the wheel skins first using a rubber mallet. When replacing the hub caps, tilt the cap retainer over the lug nut bolt circle and strike the high side down with
a rubber mallet. Be sure that the hub caps and wheel skins are firmly seated
around the wheel.
Wheel Nuts
• All wheel nuts should be tightened occasionally to eliminate the possibility of wheel studs being sheared or the bolt holes in the wheels becoming elongated.
This is especially important during the first few hundred miles/kilometers of
operation to allow the wheel nuts to become properly set. All wheel nuts should
first be firmly seated against the wheel. The wheel nuts should then be tightened
to recommended torque. Tighten the wheel nuts to final torque in increments.
Progress around the bolt circle, tightening the wheel nut opposite to the wheel nut
just previously tightened until final torque is achieved. Recommended torques are
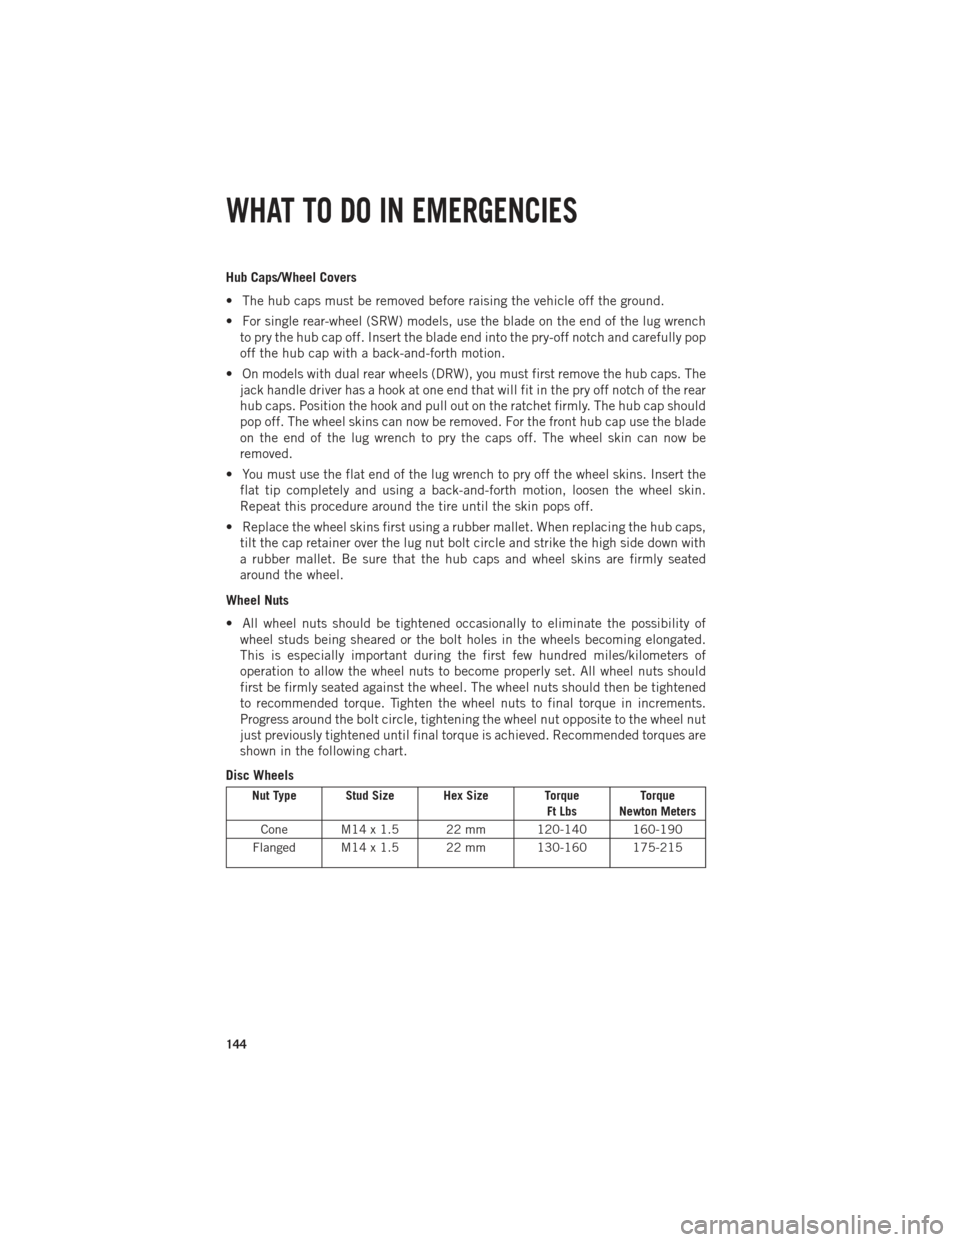
shown in the following chart.
Disc Wheels
Nut Type Stud Size Hex Size Torque Ft LbsTorque
Newton Meters
Cone M14 x 1.5 22 mm 120-140 160-190
Flanged M14 x 1.5 22 mm 130-160 175-215
WHAT TO DO IN EMERGENCIES
144
Page 180 of 196

FUSES
POWER DISTRIBUTION CENTER (FUSES)
• The Power Distribution Center is lo-cated in the engine compartment near
the battery. This center contains car-
tridge fuses and mini fuses. A descrip-
tion of each fuse and component may
be stamped on the inside cover, other-
wise the cavity number of each fuse
is stamped on the inside cover that
corresponds to the following chart.
Cavity Cartridge Fuse Micro Fuse Description
F01 80 Amp Red Rad Fan Control Module –
If equipped
F03 60 Amp Yellow Rad Fan – If Equipped
F05 40 Amp Green Compressor for Air Suspension –
If Equipped
F06 40 Amp Green Antilock Brakes/Electronic
Stability Control Pump
F07 40 Amp Green Starter Solenoid
F08 30 Amp Pink Emissions Diesel – If Equipped
F09 40 Amp Green Diesel Fuel Heater – If Equipped
F10 40 Amp Green Body Controller / Exterior
Lighting #2
F10 50 Amp Red Body Controller / Exterior Lighting
#2 – If Equipped with Stop/Start
F11 30 Amp Pink Integrated Trailer Brake Module –
If Equipped
F12 40 Amp Green Body Controller #3 / Interior
Lights
F13 40 Amp Green Blower Motor
F14 40 Amp Green Body Controller #4 / Power Locks
F15 30 Amp Pink Electric Park Brake Right Side –
If Equipped
F19 30 Amp Pink SCR – If Equipped
F20 30 Amp Pink Passenger Door Module
F21 30 Amp Pink Drive Train Control Module
F22 20 Amp Yellow Engine Control Module
F23 30 Amp Pink Body Controller #1
F24 30 Amp Pink Driver Door Module
F25 30 Amp Pink Front Wiper Low Speed
MAINTAINING YOUR VEHICLE
178
Page 184 of 196

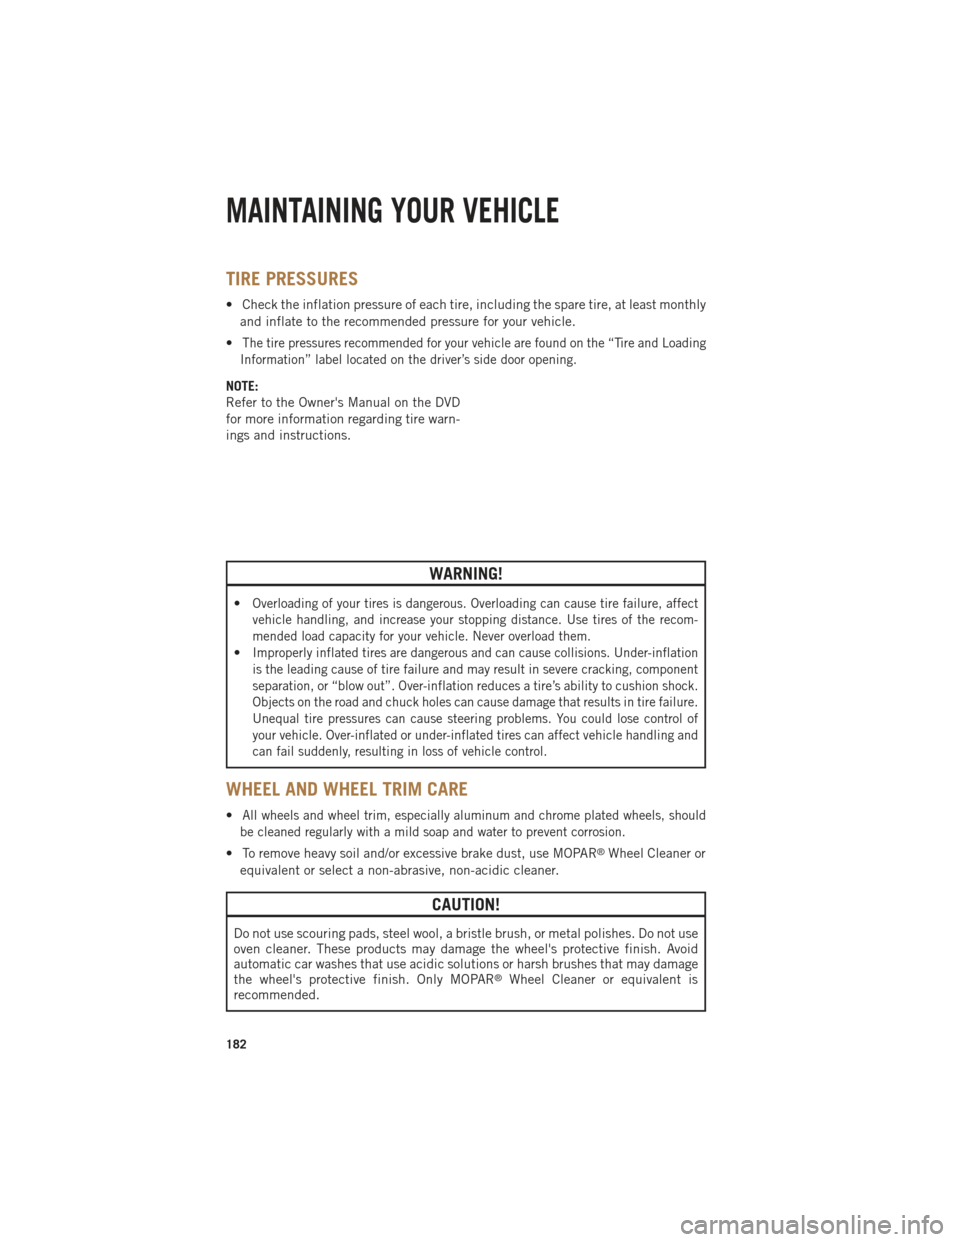
TIRE PRESSURES
• Check the inflation pressure of each tire, including the spare tire, at least monthlyand inflate to the recommended pressure for your vehicle.
•
The tire pressures recommended for your vehicle are found on the “Tire and Loading
Information” label located on the driver’s side door opening.
NOTE:
Refer to the Owner's Manual on the DVD
for more information regarding tire warn-
ings and instructions.
WARNING!
•Overloading of your tires is dangerous. Overloading can cause tire failure, affect
vehicle handling, and increase your stopping distance. Use tires of the recom-
mended load capacity for your vehicle. Never overload them.
•Improperly inflated tires are dangerous and can cause collisions. Under-inflation
is the leading cause of tire failure and may result in severe cracking, component
separation, or “blow out”. Over-inflation reduces a tire’s ability to cushion shock.
Objects on the road and chuck holes can cause damage that results in tire failure.
Unequal tire pressures can cause steering problems. You could lose control of
your vehicle. Over-inflated or under-inflated tires can affect vehicle handling and
can fail suddenly, resulting in loss of vehicle control.
WHEEL AND WHEEL TRIM CARE
•All wheels and wheel trim, especially aluminum and chrome plated wheels, should
be cleaned regularly with a mild soap and water to prevent corrosion.
• To remove heavy soil and/or excessive brake dust, use MOPAR®Wheel Cleaner or
equivalent or select a non-abrasive, non-acidic cleaner.
CAUTION!
Do not use scouring pads, steel wool, a bristle brush, or metal polishes. Do not use
oven cleaner. These products may damage the wheel's protective finish. Avoid
automatic car washes that use acidic solutions or harsh brushes that may damage
the wheel's protective finish. Only MOPAR
®Wheel Cleaner or equivalent is
recommended.
MAINTAINING YOUR VEHICLE
182
Page 195 of 196

If you are the first registered retail owner of your vehicle, you
may obtain a complimentary printed copy of the Owner’s Manual,
Navigation/Uconnect
® Manuals or Warranty Booklet by calling
1-866-726-4636 (U.S.) or 1-800-387-1143 (Canada)
or by contacting your dealer.
This User Guide is intended to familiarize you with the important featur\
es
of your vehicle. The DVD enclosed contains your Owner’s Manual, Navigation/
Uconnect
® Manuals, Warranty Booklets, Tire Warranty and Roadside
Assistance (new vehicles purchased in the U.S.) or Roadside Assistance\
(new vehicles purchased in Canada) in electronic format. We hope you
find it useful. Replacement DVD kits may be purchased by visiting
www.techauthority.com. Copyright 2014 Chrysler Group LLC.
IMPORTANT
The driver’s primary responsibility is the safe operation of the vehicle. Driving w\
hile
distracted can result in loss of vehicle control, resulting in a collisi\
on and personal
injury. Chrysler Group LLC strongly recommends that the driver use extreme cau\
tion
when using any device or feature that may take their attention off the r\
oad. Use of any
electrical devices such as cell phones, computers, portable radios, vehi\
cle navigation
or other devices by the driver while the vehicle is moving is dangerous \
and could lead
to a serious collision. Texting while driving is also dangerous and should never be
done while the vehicle is moving. If you find yourself unable to devot\
e your full
attention to vehicle operation, pull off the road to a safe location and\
stop your
vehicle. Some States or Provinces prohibit the use of cellular telephone\
s or texting
while driving. It is always the driver’s responsibility to comply with all local laws.DRIVING AND ALCOHOL
Drunken driving is one of the most frequent causes of collisions. Your driving
ability can be seriously impaired with blood alcohol levels far below th\
e legal
minimum. If you are drinking, don’t drive. Ride with a designated non\
-drinking
driver, call a cab, a friend, or use public transportation.
WARNING
Driving after drinking can lead to a collision. Your perceptions are less sharp,
your reflexes are slower, and your judgment is impaired when you have been
drinking. Never drink and then drive.
This guide has been prepared to help you get quickly acquainted with
your new RAM and to provide a convenient reference source for common
questions. However, it is not a substitute for your Owner’s Manual.
For complete operational instructions, maintenance procedures and
important safety messages, please consult your Owner’s Manual,
Navigation/Uconnect
® Manuals and other Warning Labels in your vehicle.
Not all features shown in this guide may apply to your vehicle. For
additional information on accessories to help personalize your vehicle, \
visit
www.mopar.com (U.S.), www.mopar.ca (Canada) or your local RAM dealer.